
Bunny Pillow Tutorial
Bunny Pillows. Ha ha! With just those two words, I have virtually split the bunny world into two groups, breeders/showers and pet owners. As a former rabbitry owner, I can understand the snickers and sarcastic comments coming from the professional group. When I sold kits and adult bunnies to experienced 4-H kids, or other breeders, their faces would go through a series of expressions - disbelief that anyone would bother, disgust at the thought of 30 dirty pillows in their rabbitry, laughter at the ridiculousness and then a polite stifling. I knew the pillows would likely end up in the trash, or be given to a little kid to for doll accessories. And let's be honest, if you were cleaning 30 cages three times a week, you wouldn't have time for peed on pillows either.
In stark contrast, the pet owners would be delighted. They listened closely as I suggested that since the pillow smelled like their bunny's current home, it could help their bunny feel safe and calm in a totally new environment. I also explained how "owning" something made many types of bunnies happier. My suggestion was to keep it for a couple of weeks, and then if the bunny didn't seem to care, throw it away. If the bunny was attached to it, it was durable enough to run through the wash a few times. And, since pet bunnies are typically litter trained, it would theoretically stay cleaner for a longer period of time.
If you have been reading the Identity series articles, you might remember that bunnies of a few particular identities really like having a pillow. So, for those who own a sewing machine, or for those who can convince someone else to sew for them, I have included a tutorial. It's really easy to do, and remember, the bunnies don't care if your seams are straight or the pillows measure out evenly -- unless you have an Intelligent Bunny. Then I would keep the tape measure far away.
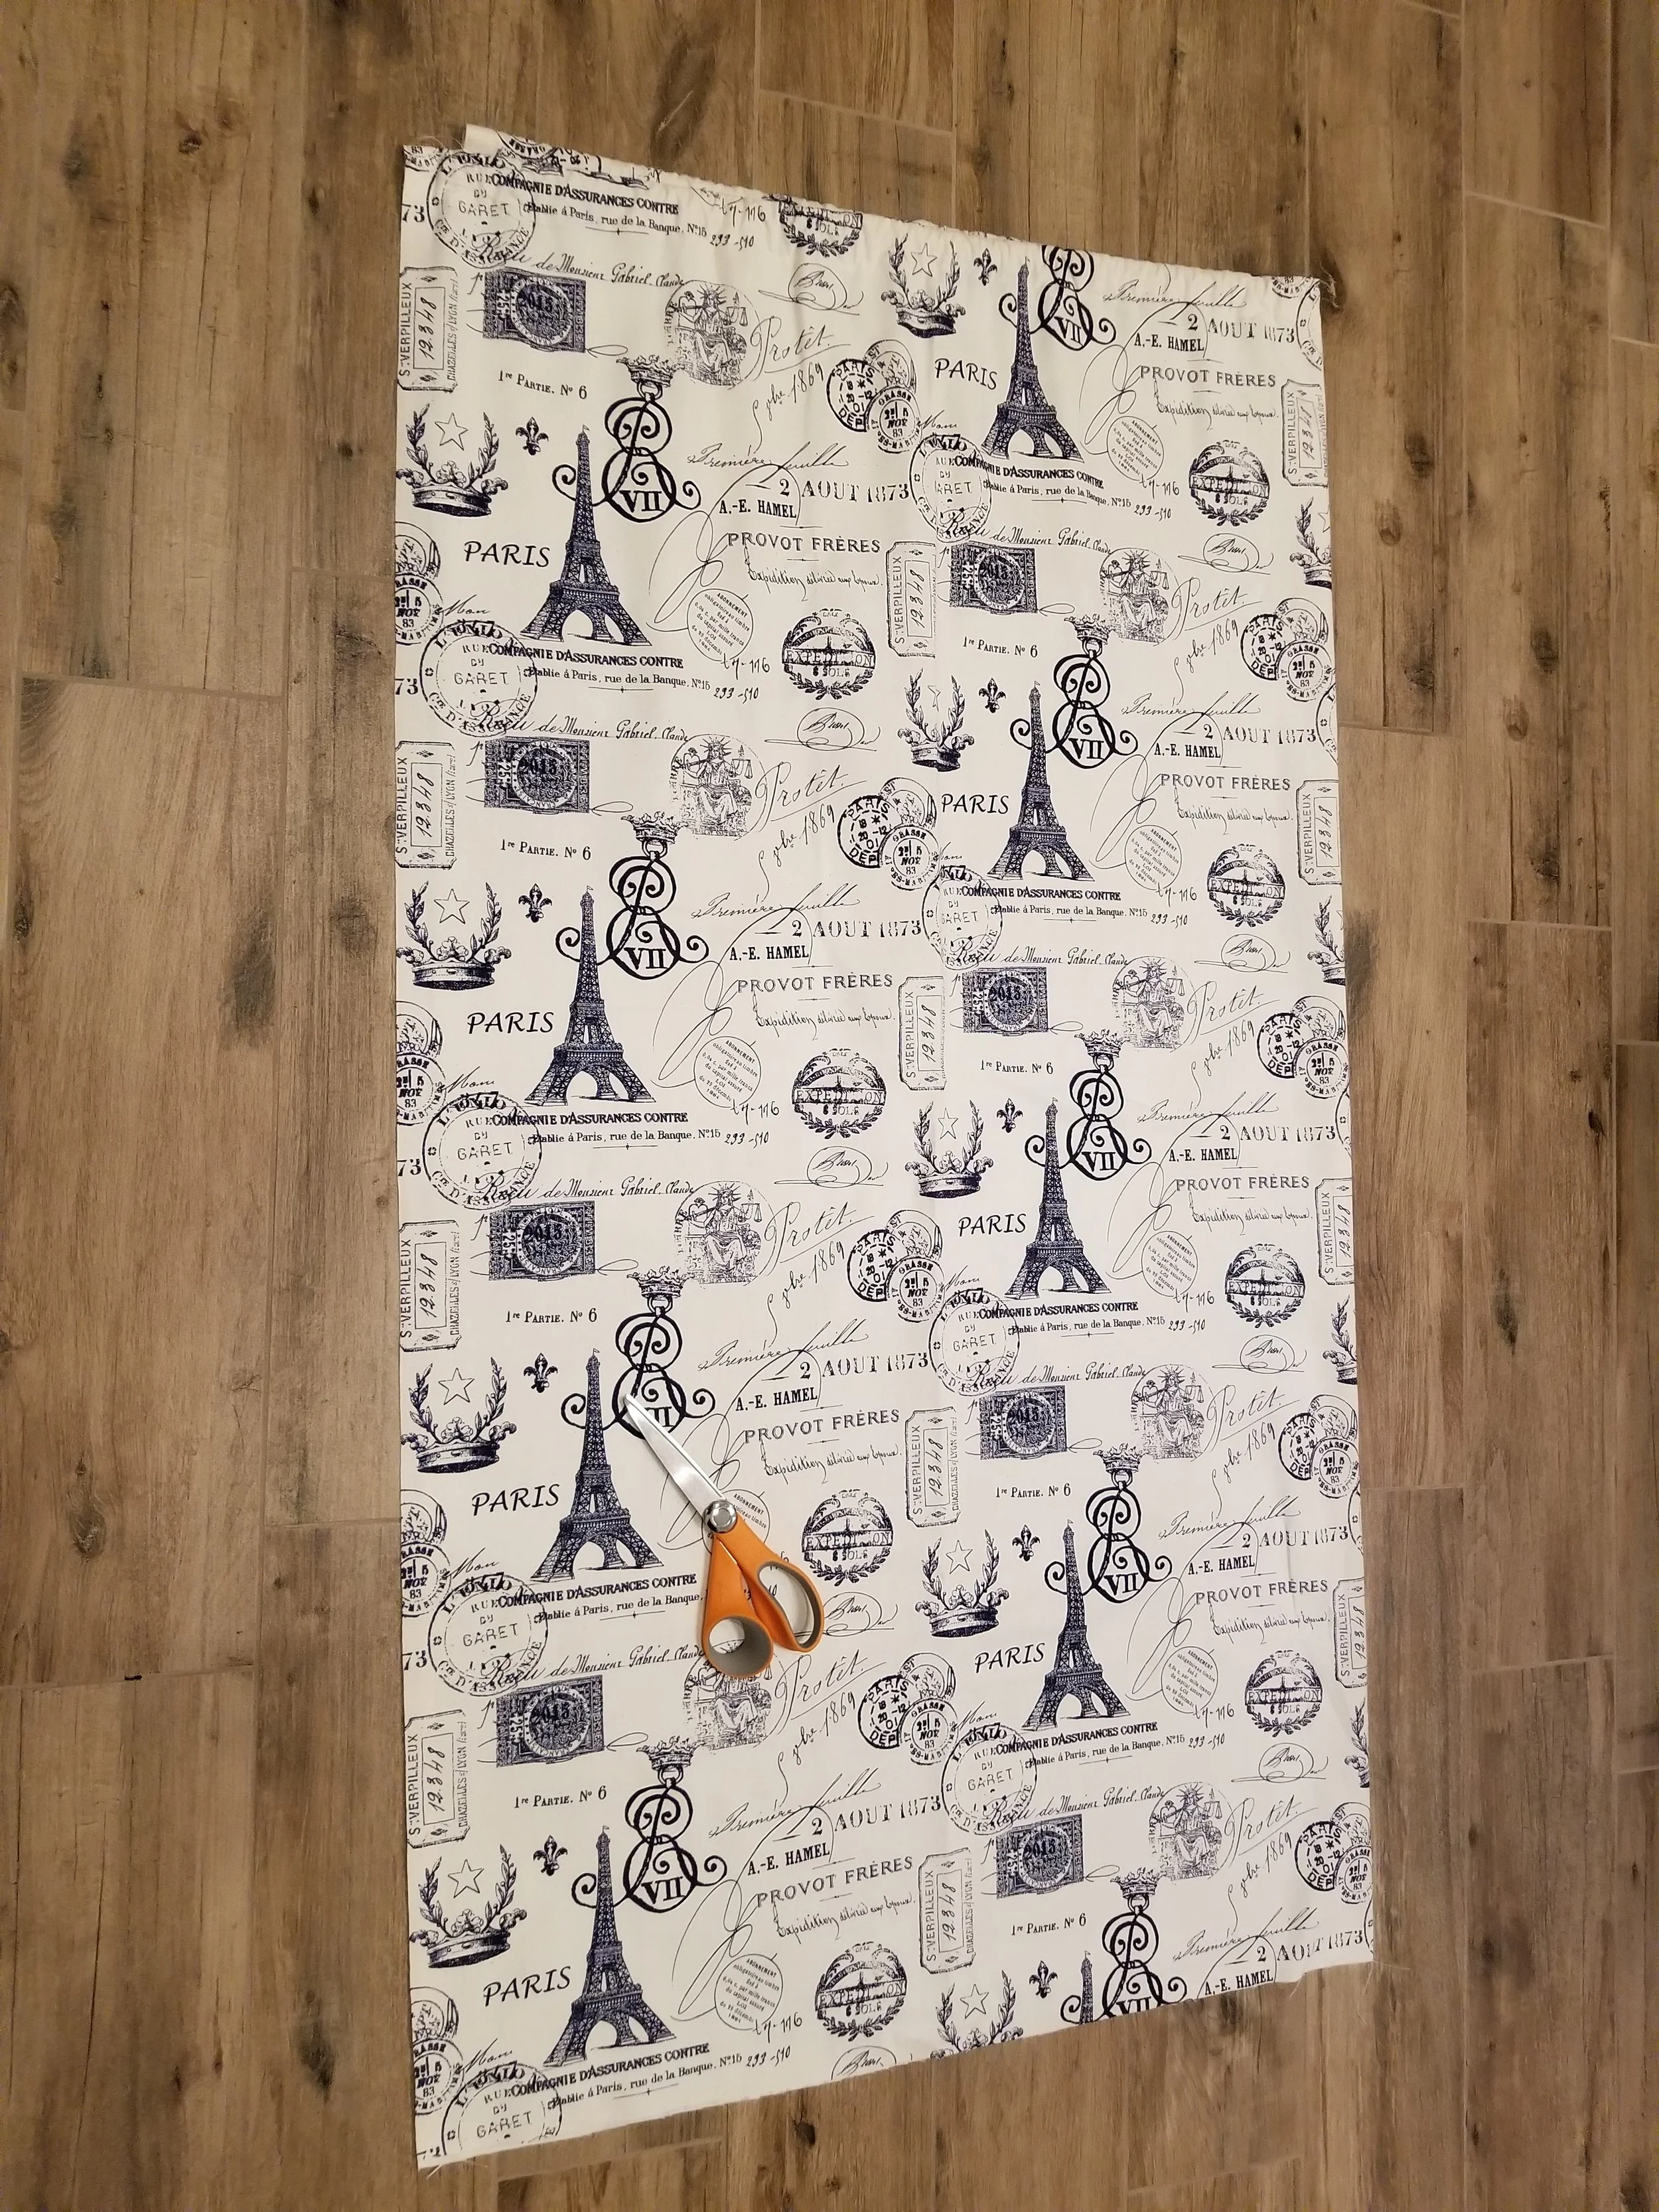
1. You can use any fabric. I like the indoor/outdoor fabrics for summer because they are cooler and they stay clean longer. For winters, I like flannel or fleece.
Lay your fabric out on a flat surface and cut out two pieces of the same size. You can do two pieces from the same fabric, or do one print and a matching solid. I like to do bigger pillows so a bunny can lay down on the pillow and not be hanging over the edge. 12" x 16" inches is a good size.

2. Stack your fabric - right sides together. That's sewing language for prints on the inside.
If you're paying close attention you will notice that I cheated on this one and cut only one piece of fabric and just folded it over. That's fine too.
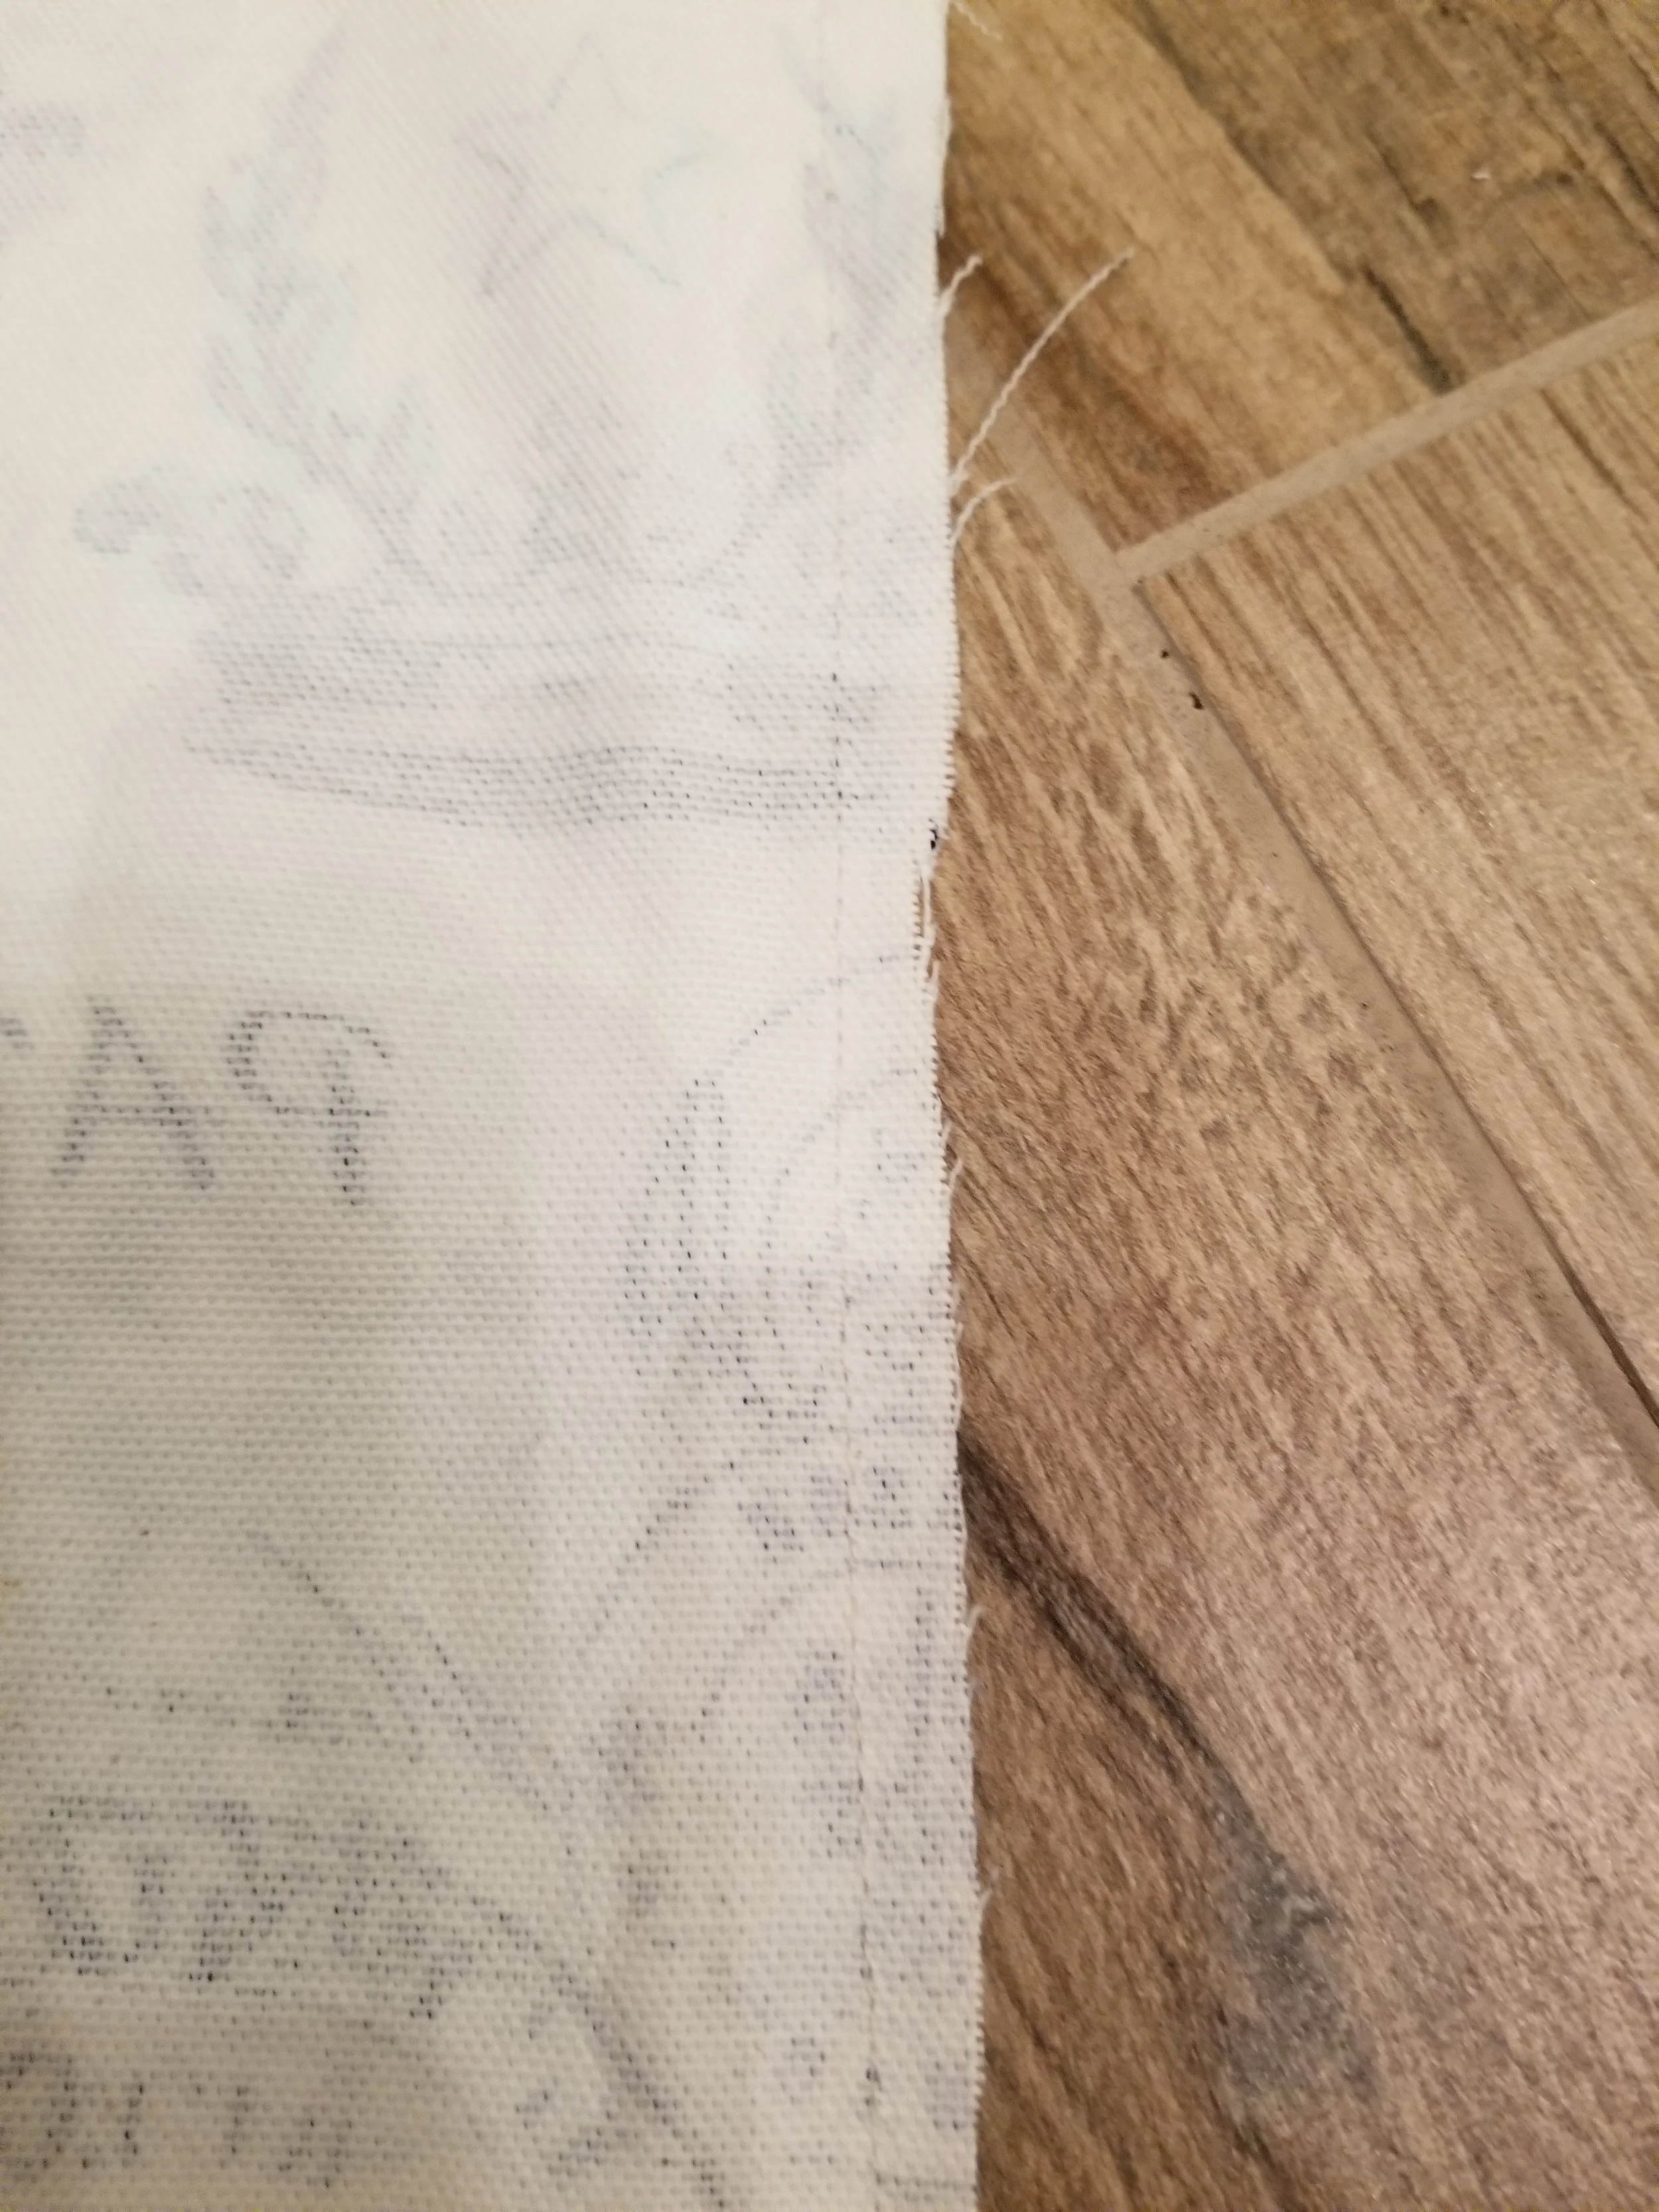
3. Sew around three sides of the fabric, leaving one side completely open. (Or in my case with a single cut of fabric - I just sewed two sides closed.
I should have used darker thread so the seam would be more visible, but if you look closely, you can see what looks like a line with holes close to the right edge - that's the seam.
I really just estimate how far into the fabric to run my seam. .5" or .75" both work well.
This is a good time to remind you that your bunny doesn't care if your seam is straight.
4. Turn your pocket of fabric - right side out. Remember, the one side is fully open.
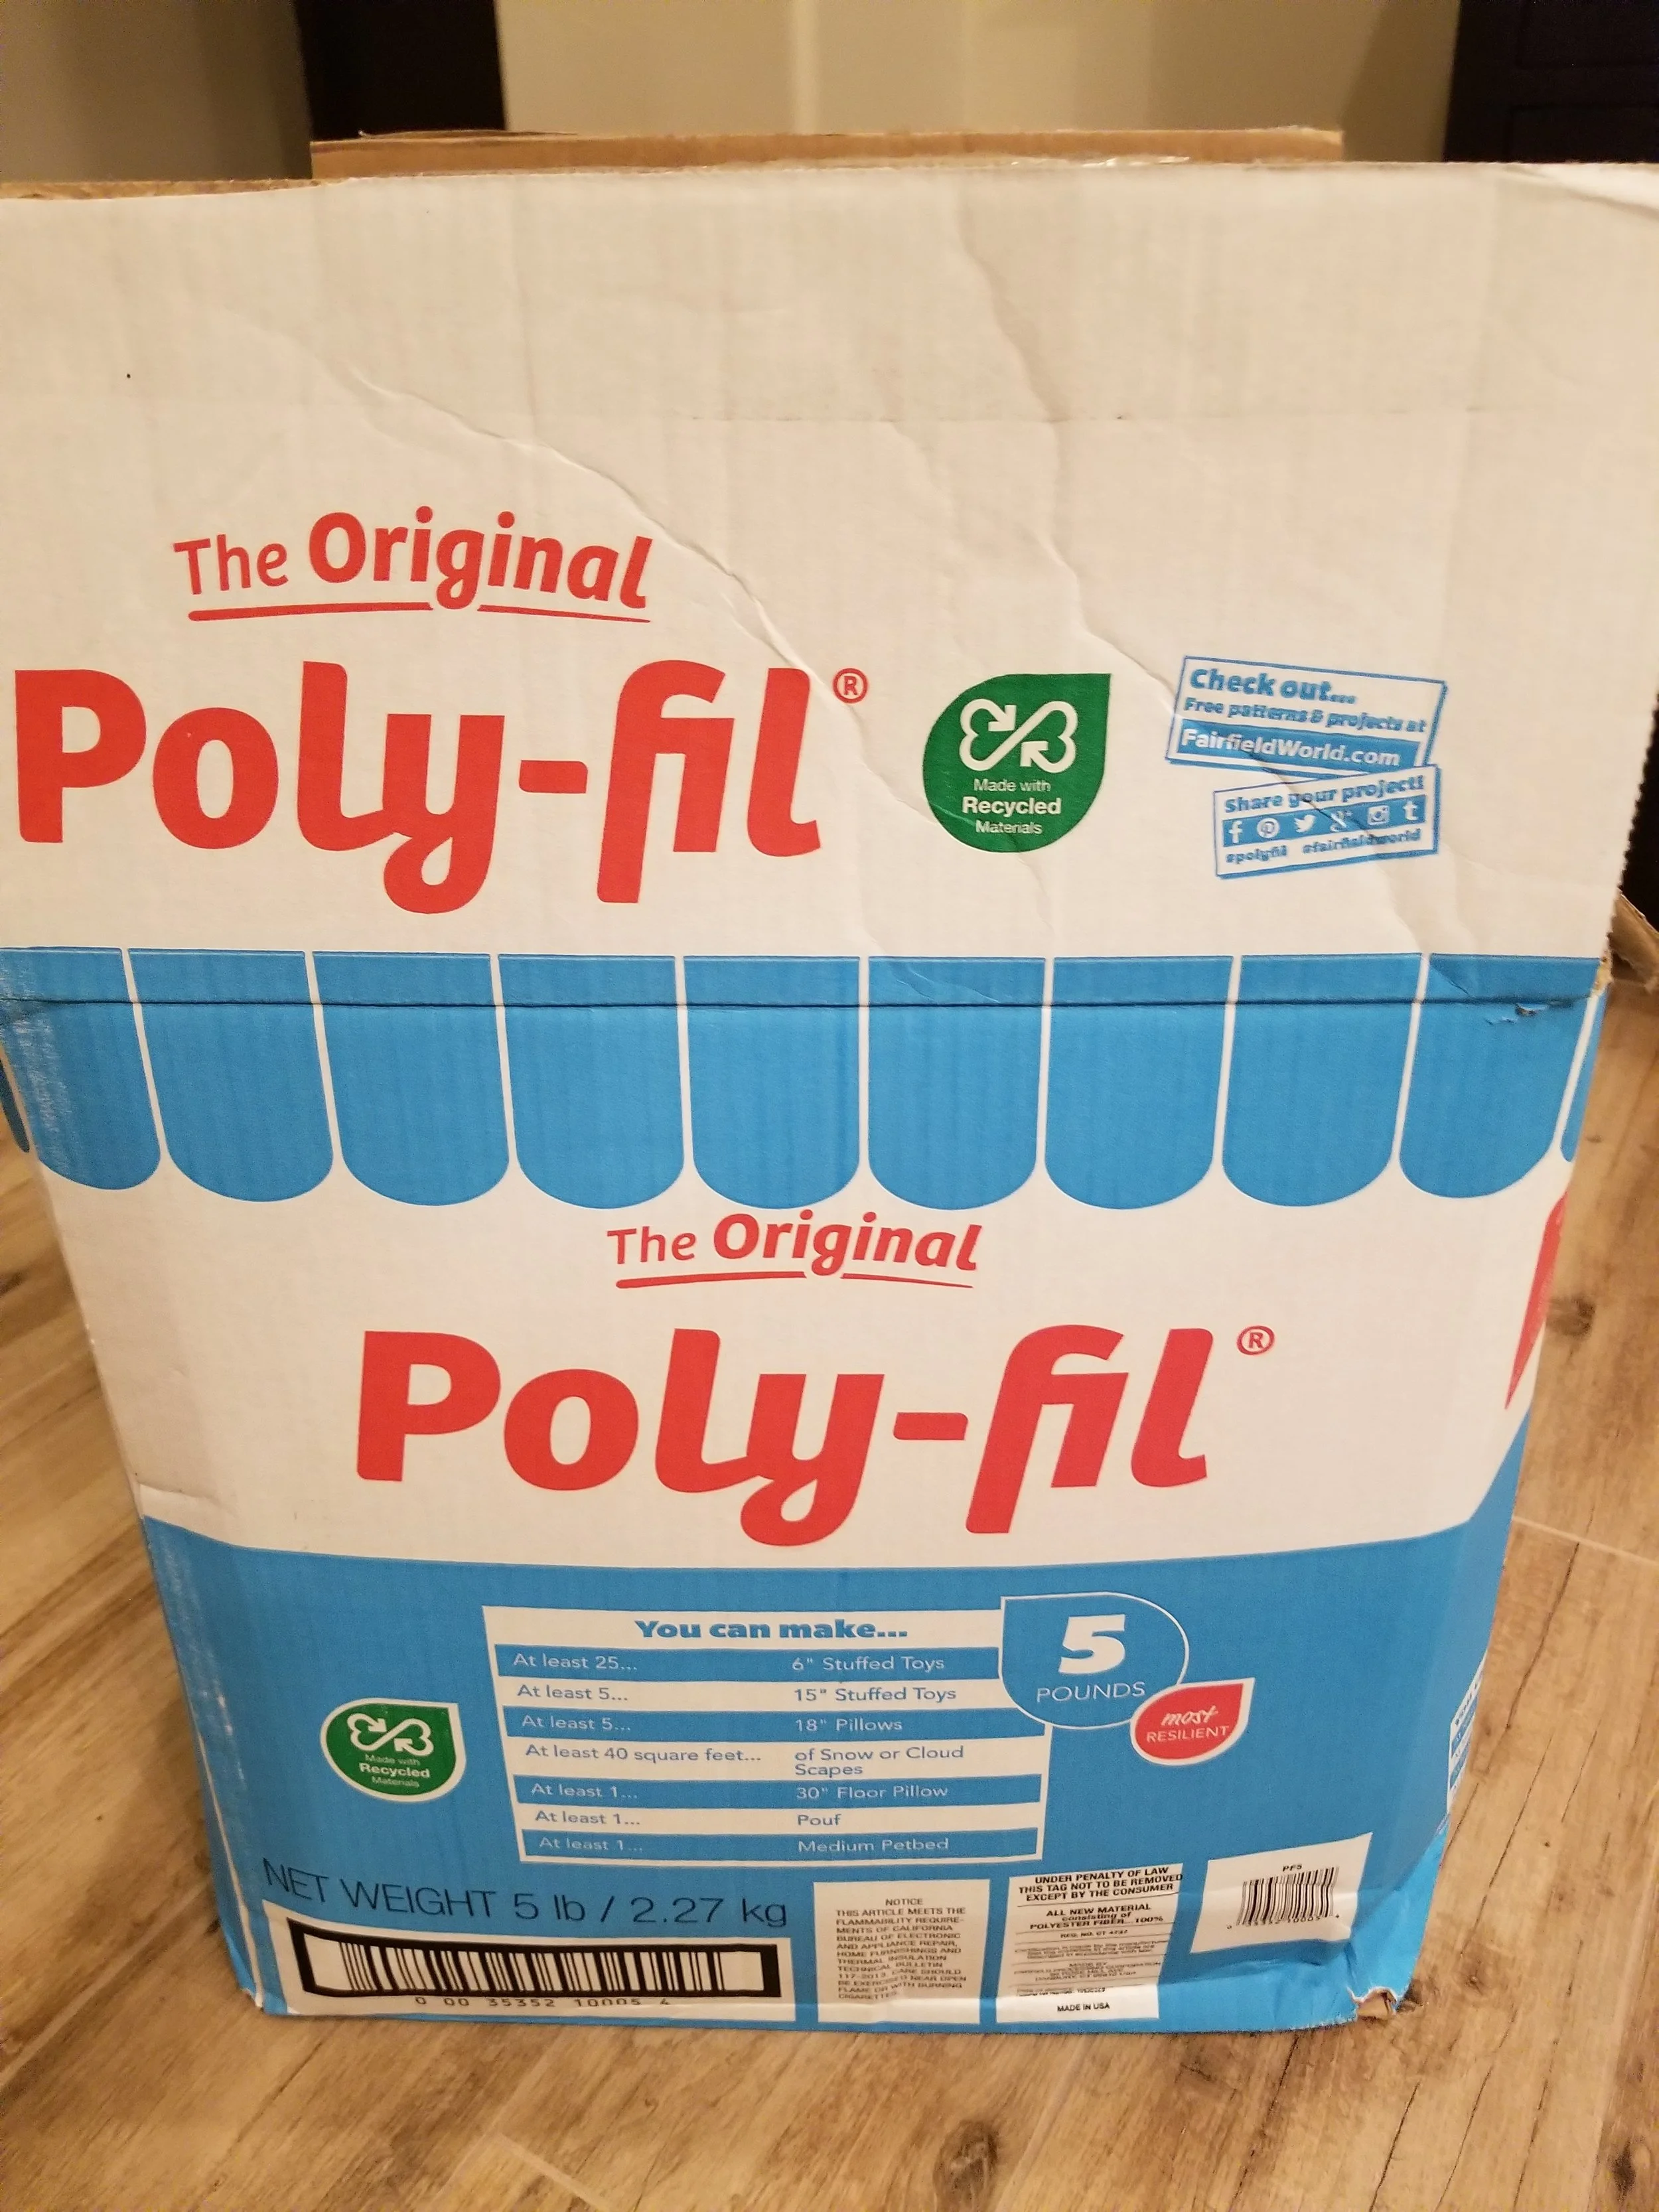
5. Grab your stuffing. I get mine from Jo-ann Fabrics, and I buy it in a big box. It's packed pretty full and should last a long time. I wait until I have a coupon for 50% or 60% off a regularly priced item. If you are only making one pillow, don't bother with the box. Get a small bag of fiber fill.
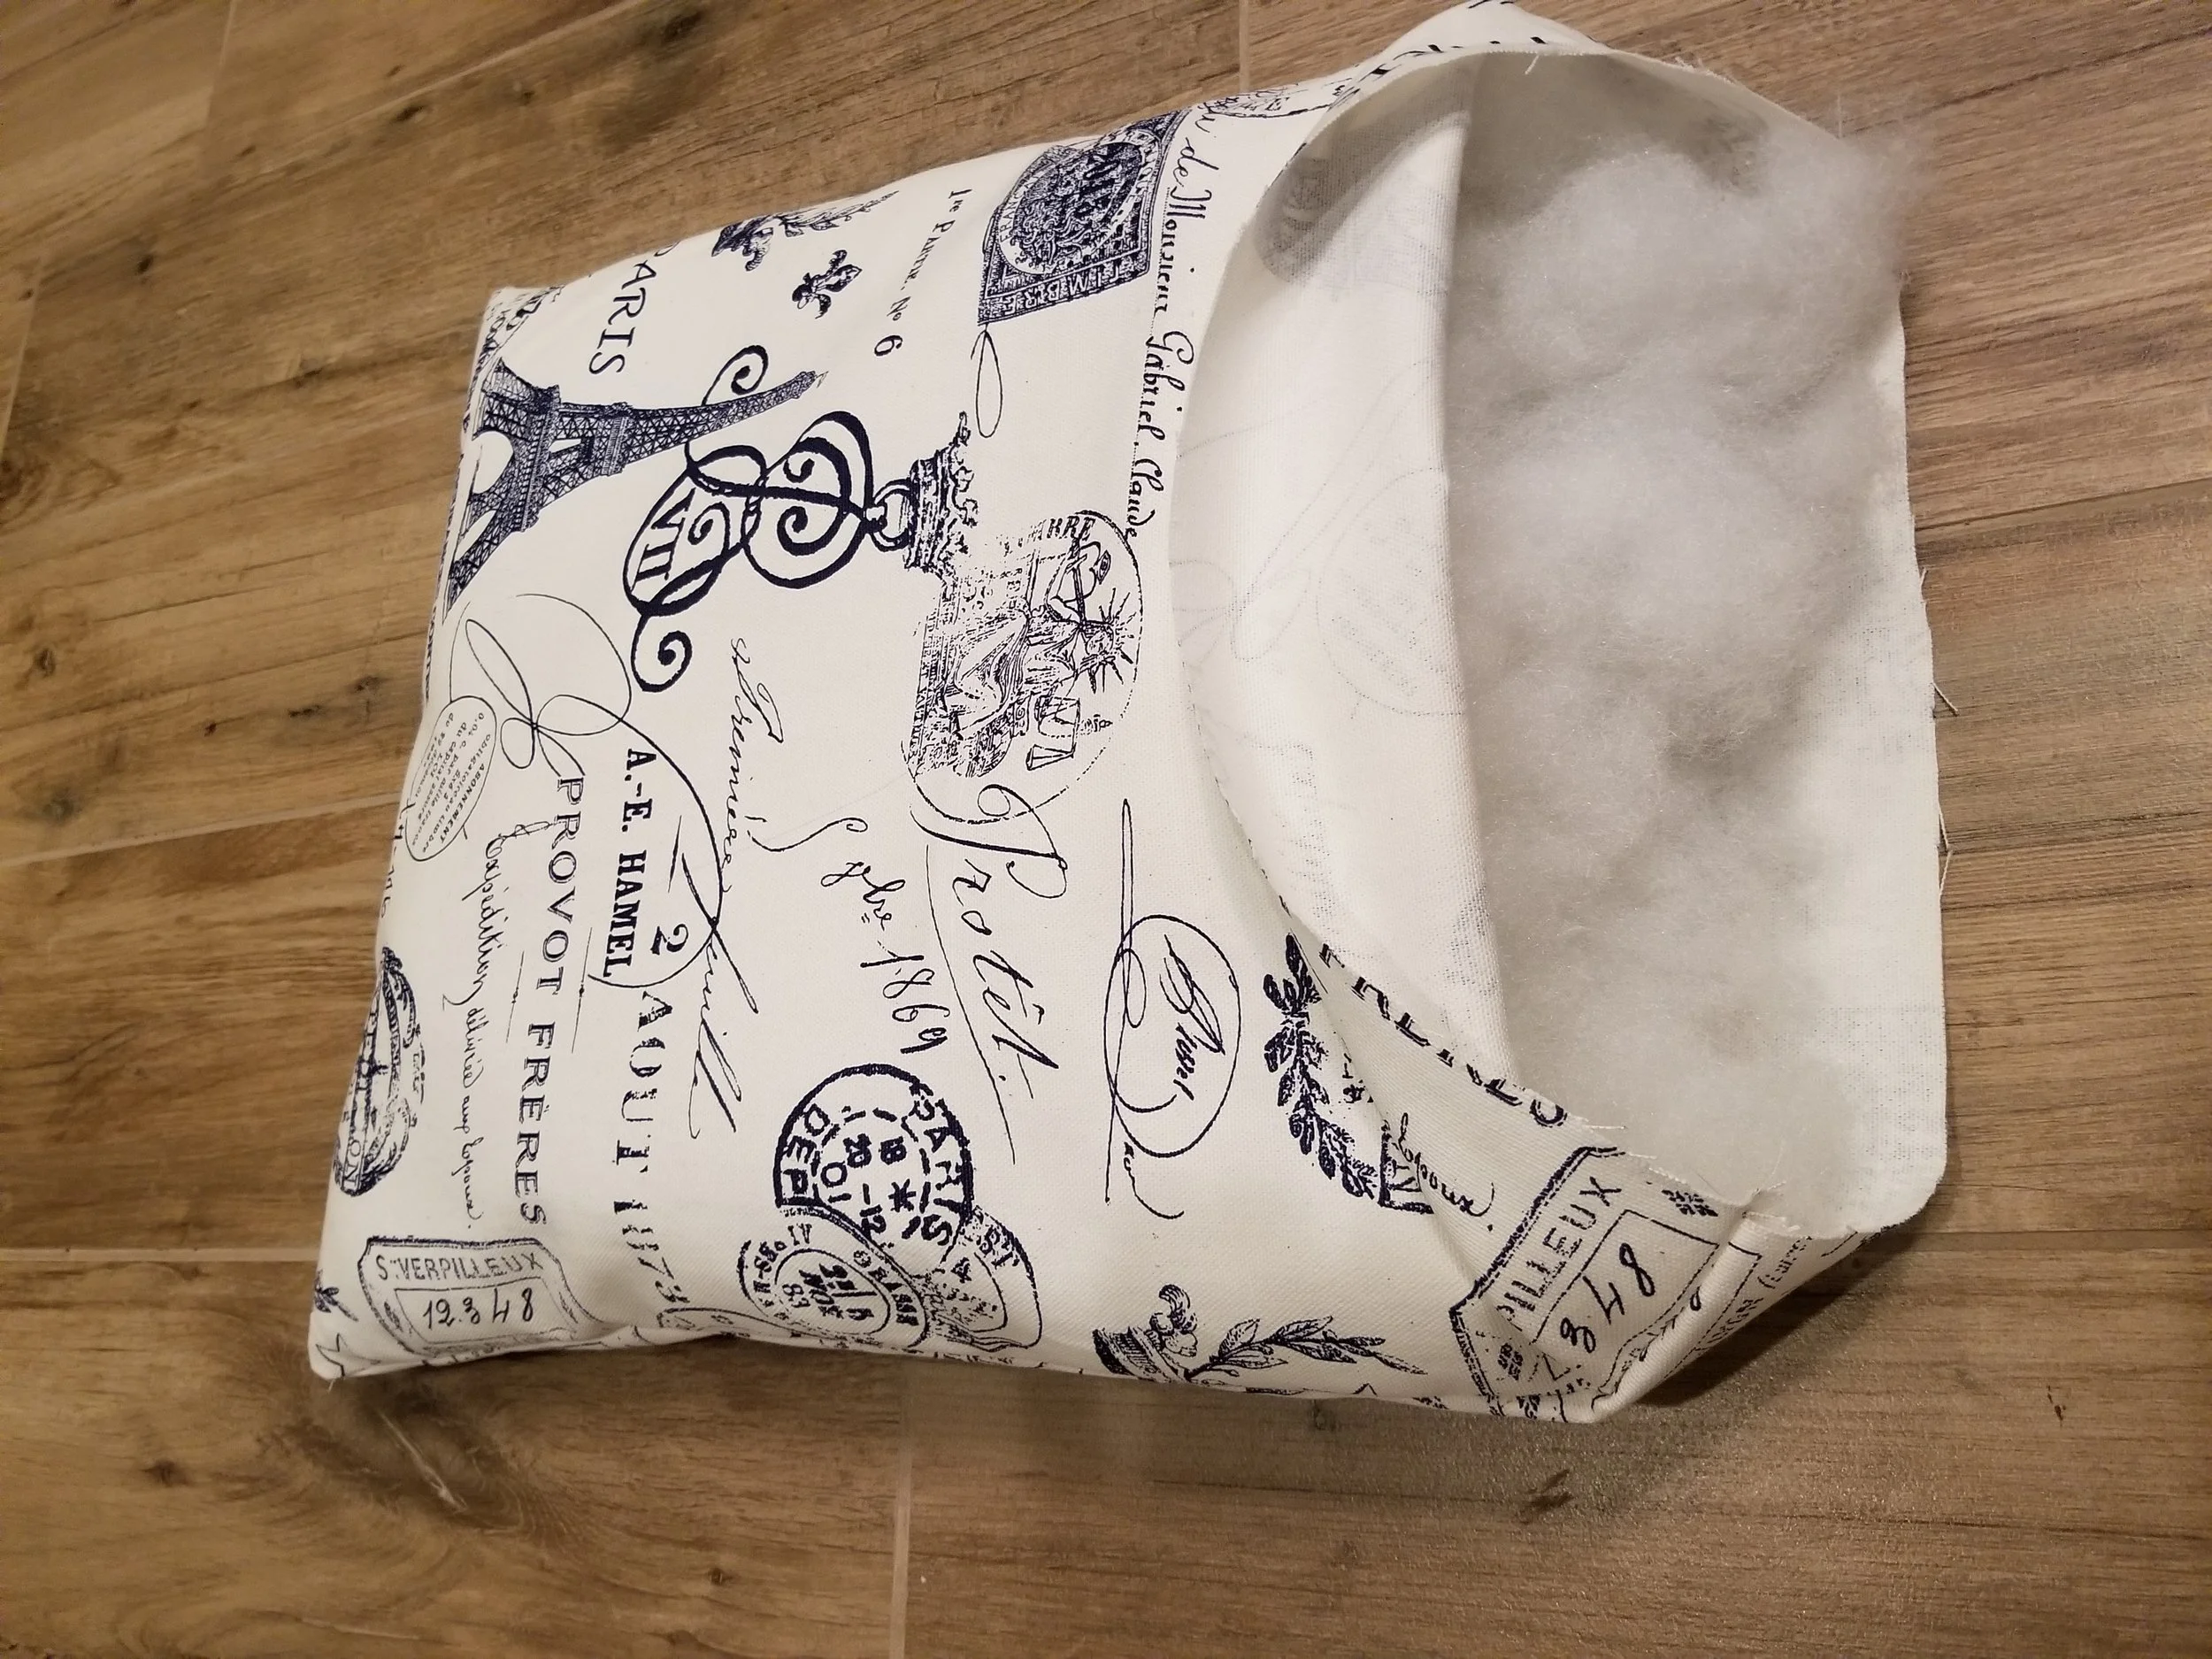
Fill your pillow by taking clumps of fiber fill and then stretching them out inside the pillow. You want to keep the clumps mostly intact, just stretched out evenly. It won't be perfect. There will be some spots that feel more full than others. If you get it even and flat across the whole pillow, you
1. sew a lot
2. are taking this way too seriously
3. wasted a lot of time
4. used a roll of batting instead.
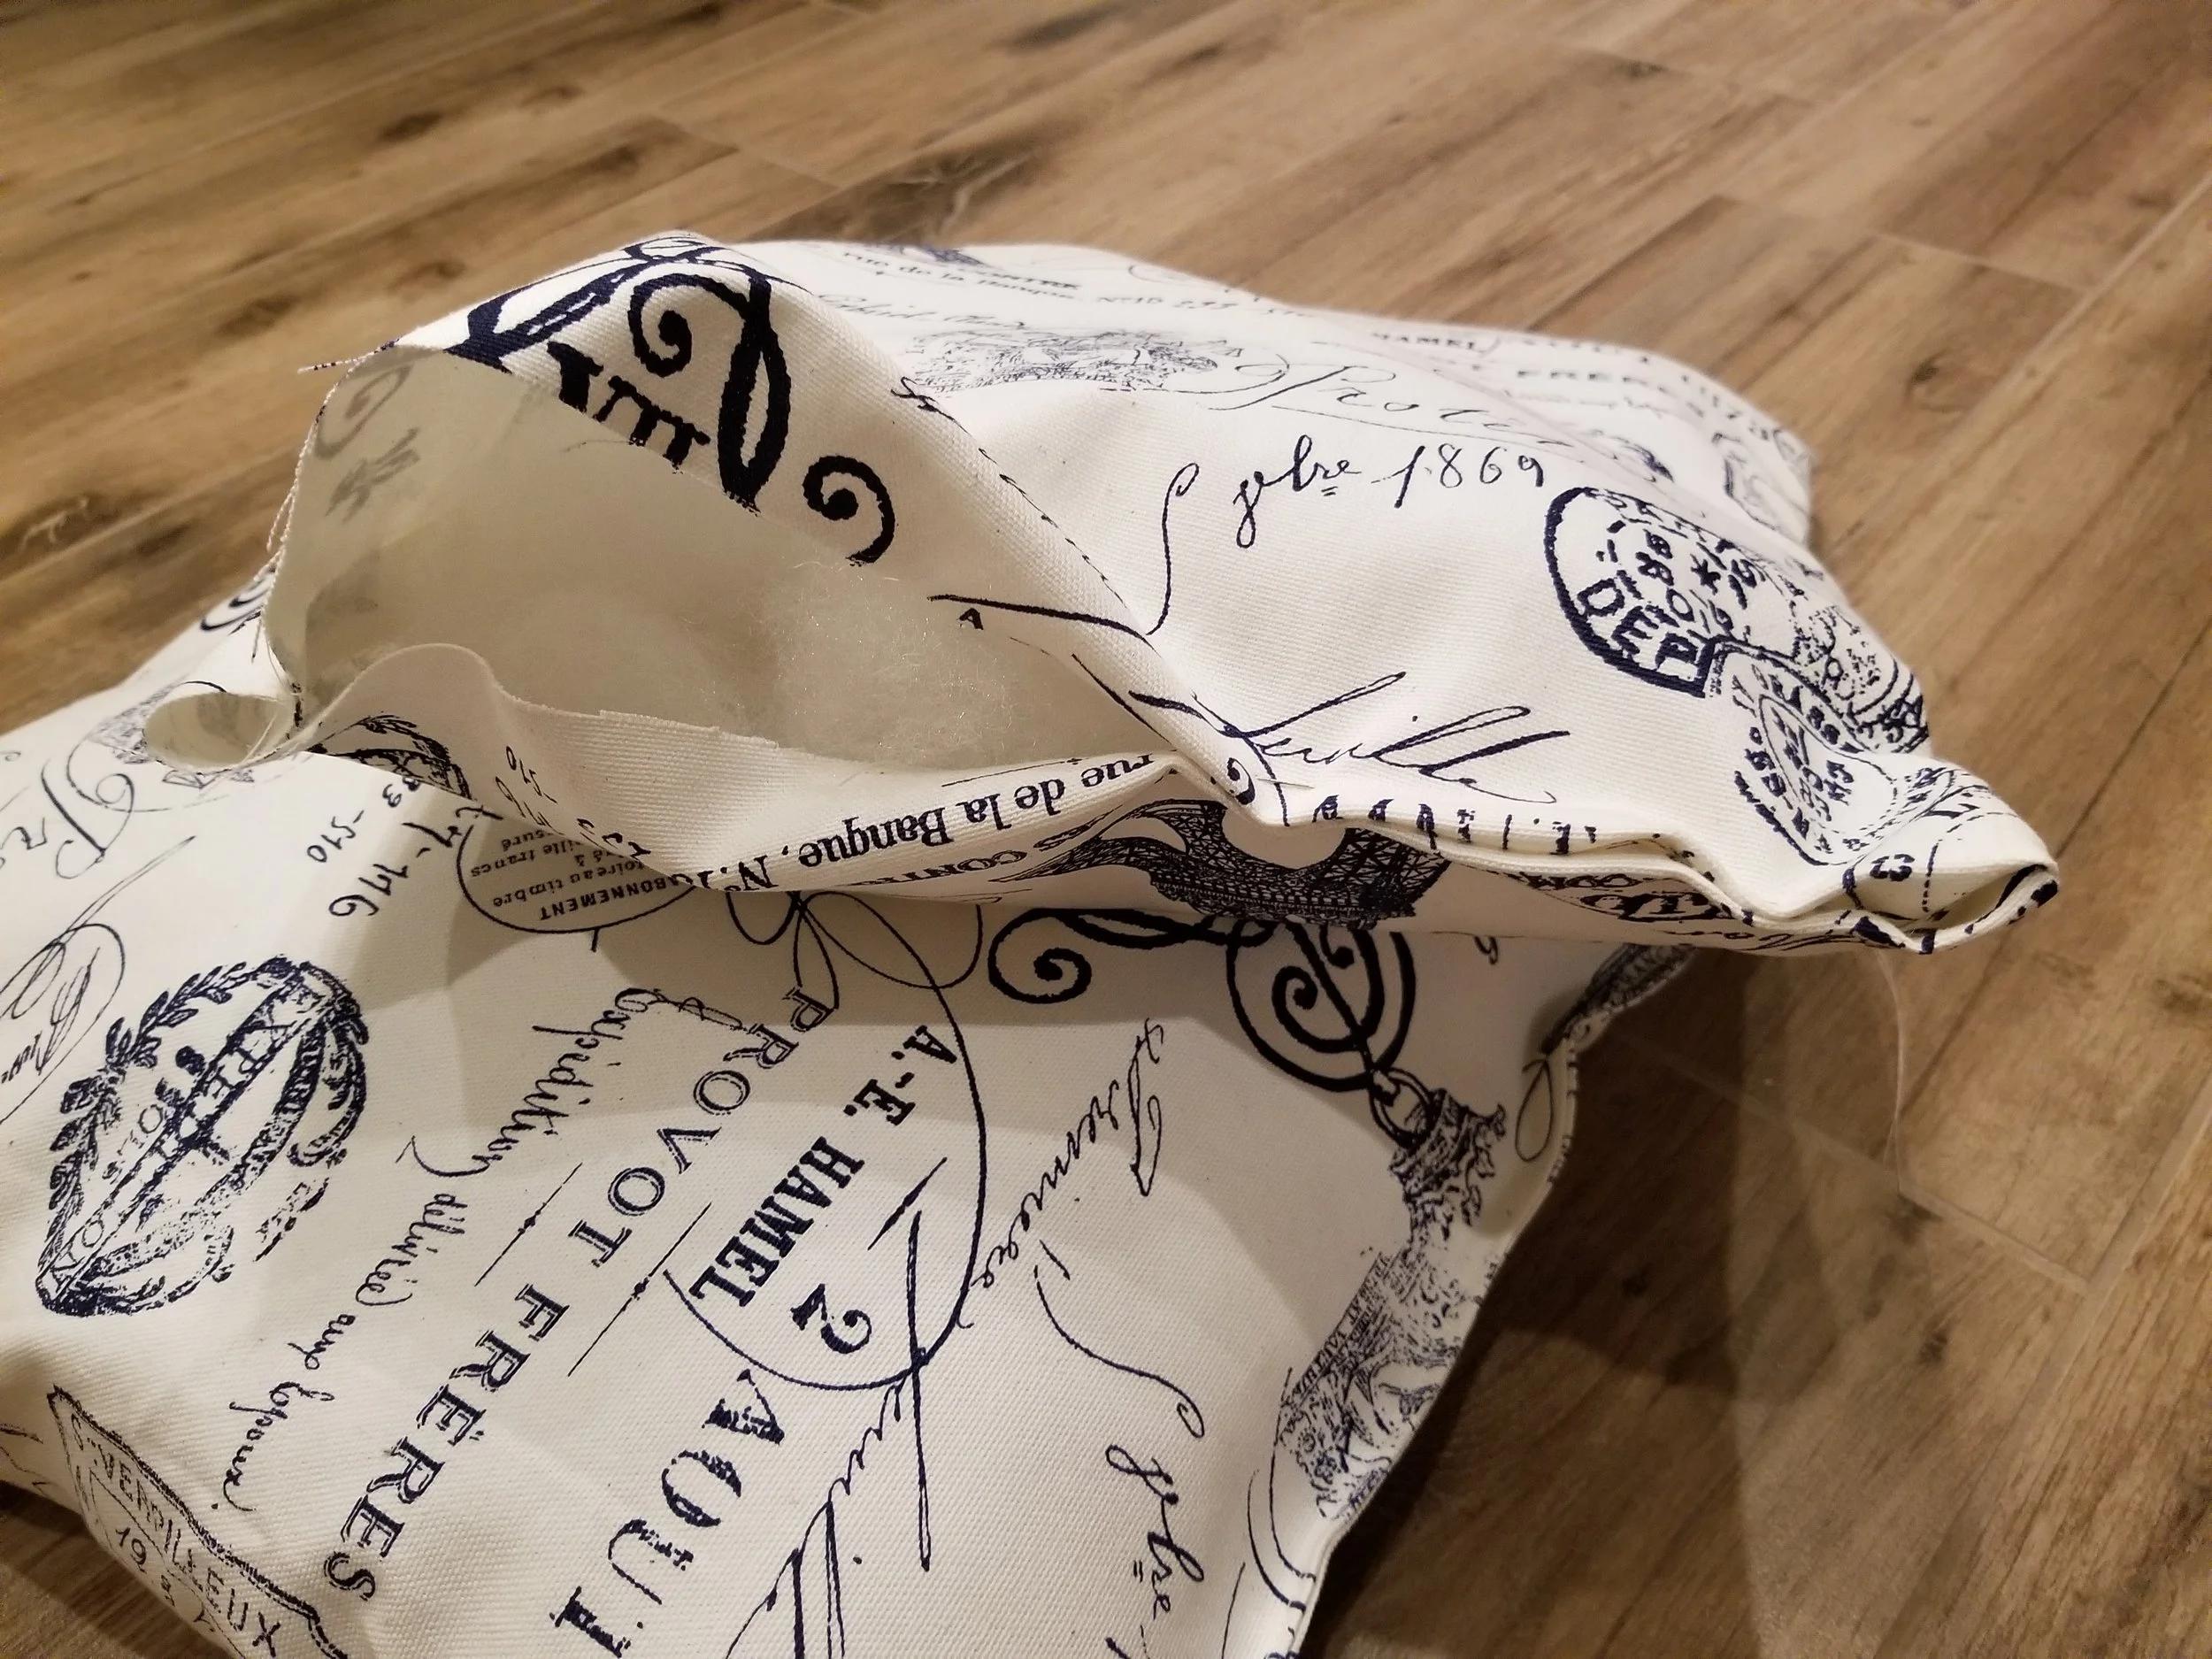
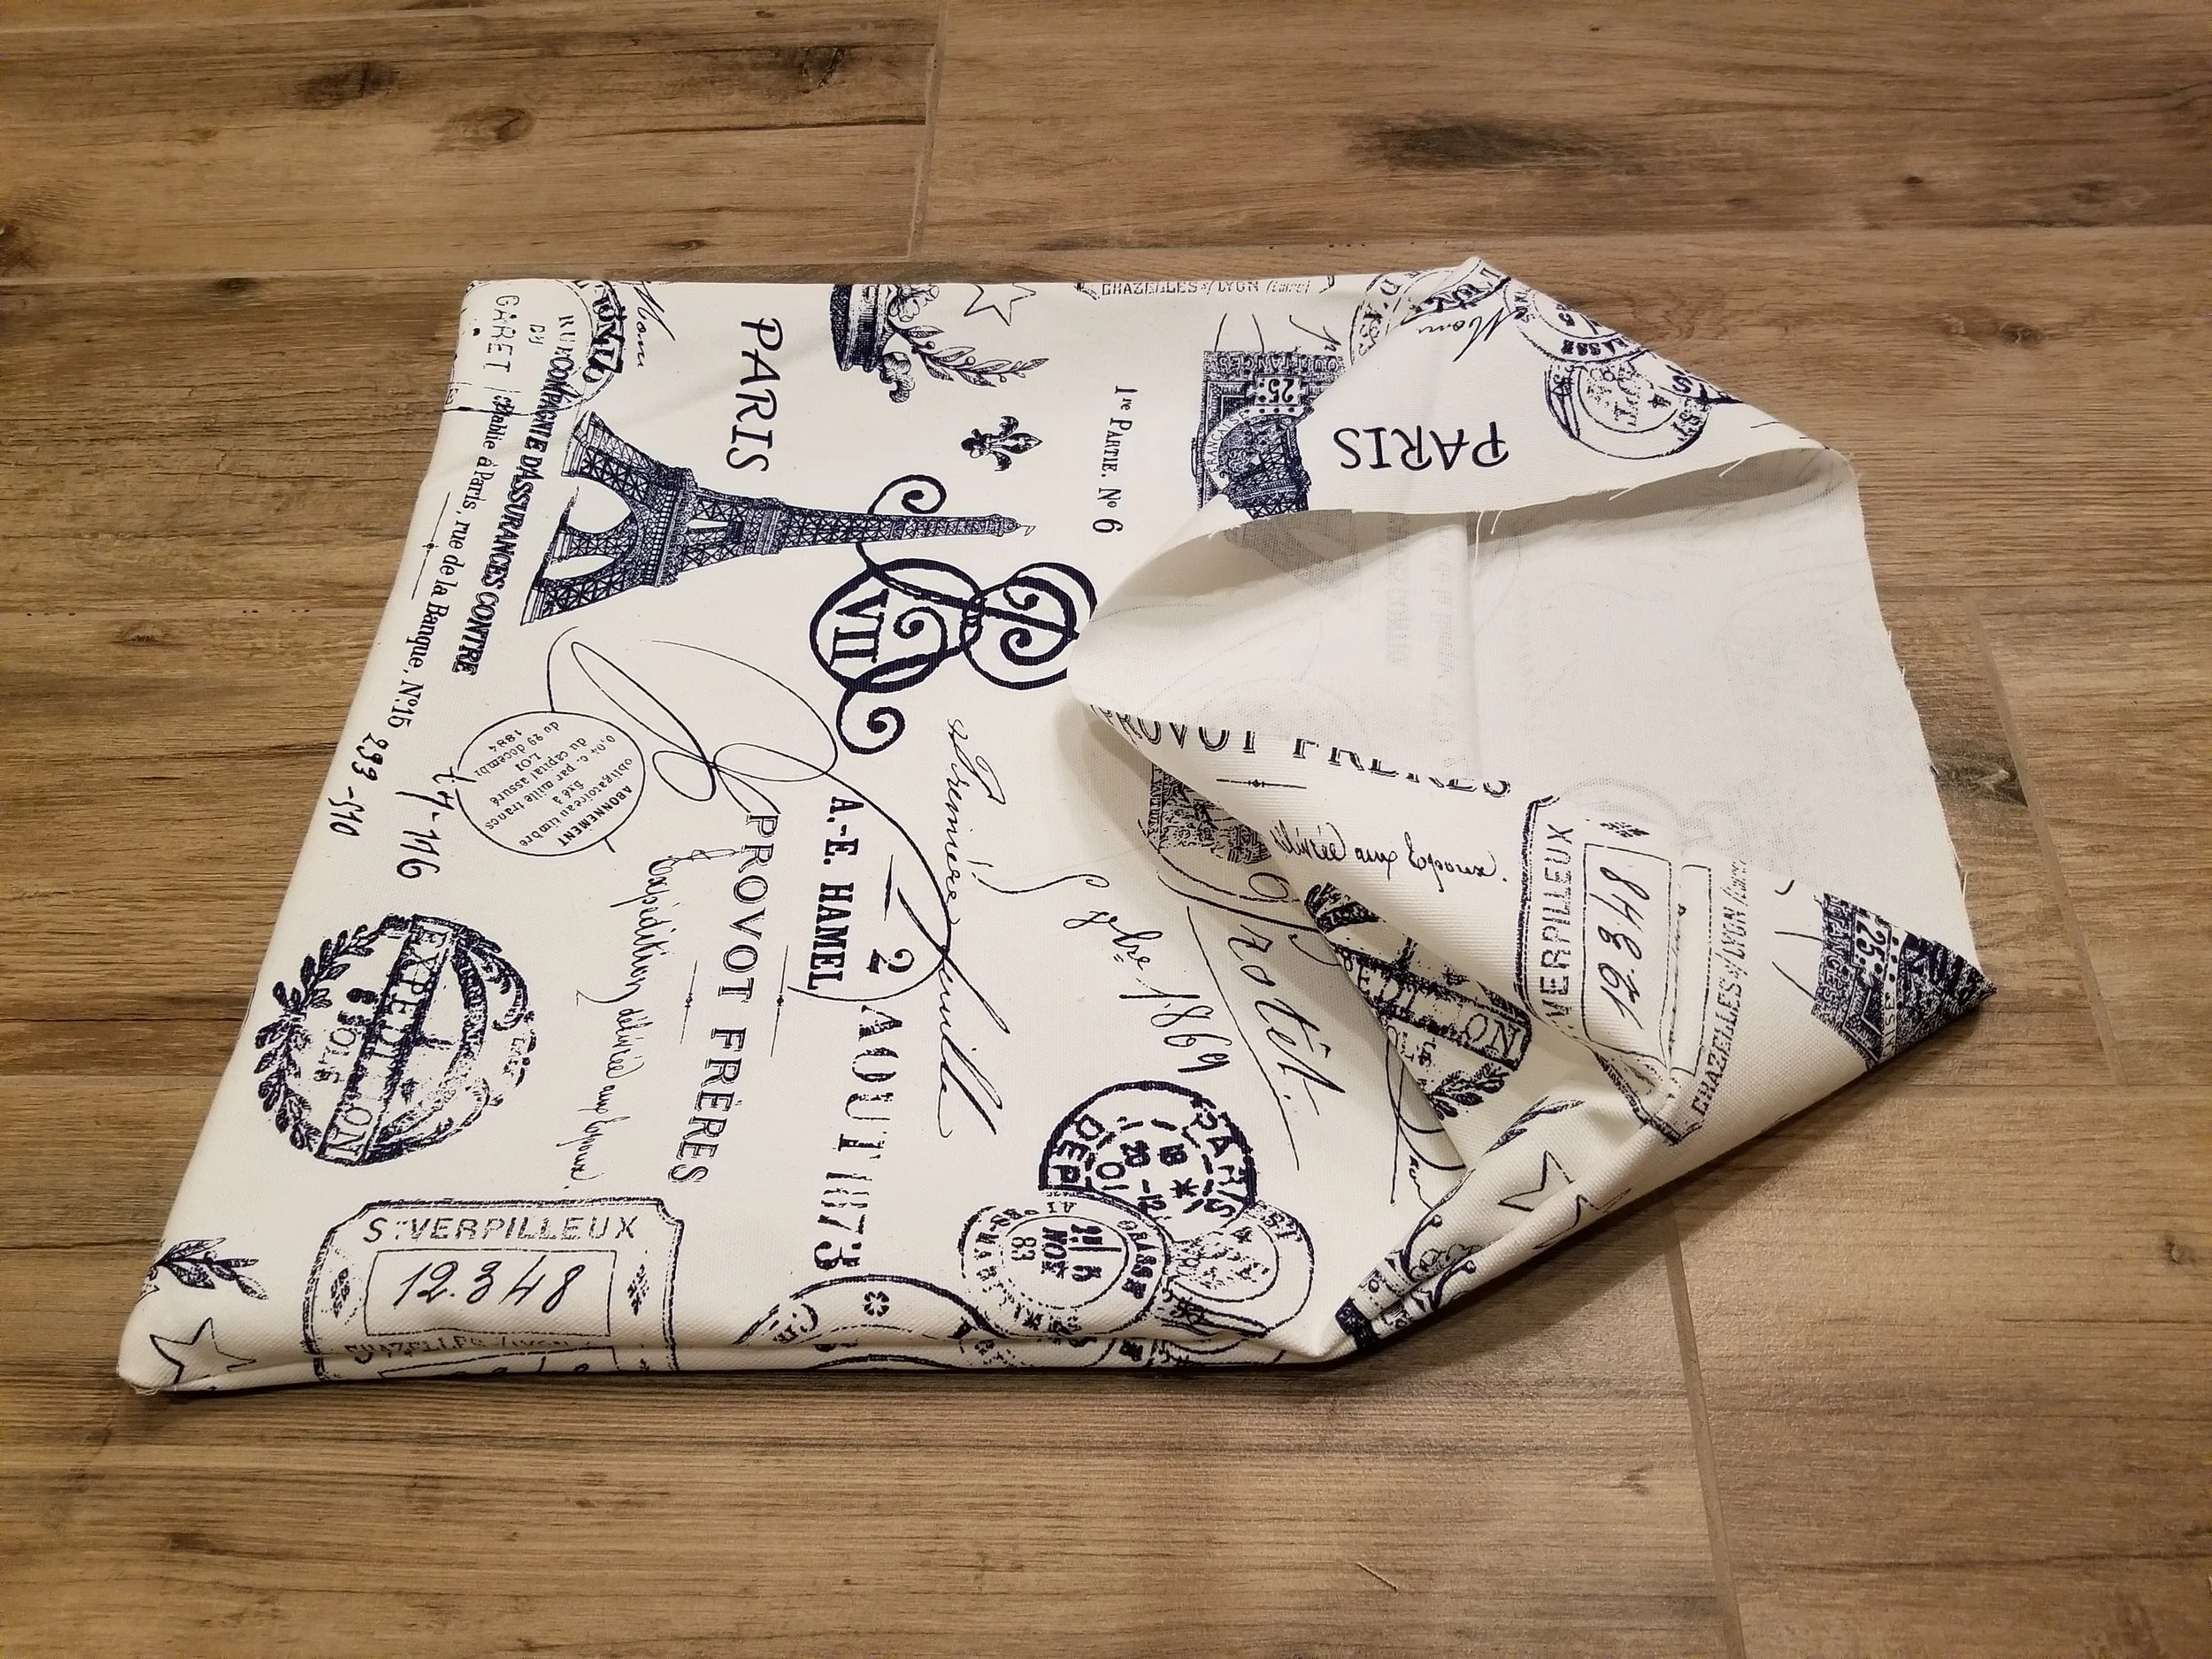
6. Grab the edge that is not sewn. Put your hands on opposite ends of the opening and pull the fabric taut. Then fold down the edges. The key here is tension. The fabric will almost fold itself over evenly, all the way around the pillow, once you start the fold. Then pinch the folded sides together and use a pin to hold them in place.
In this picture, my pillow is laying on top of another pillow and you can see how I folded down the edges and pinned part of it.
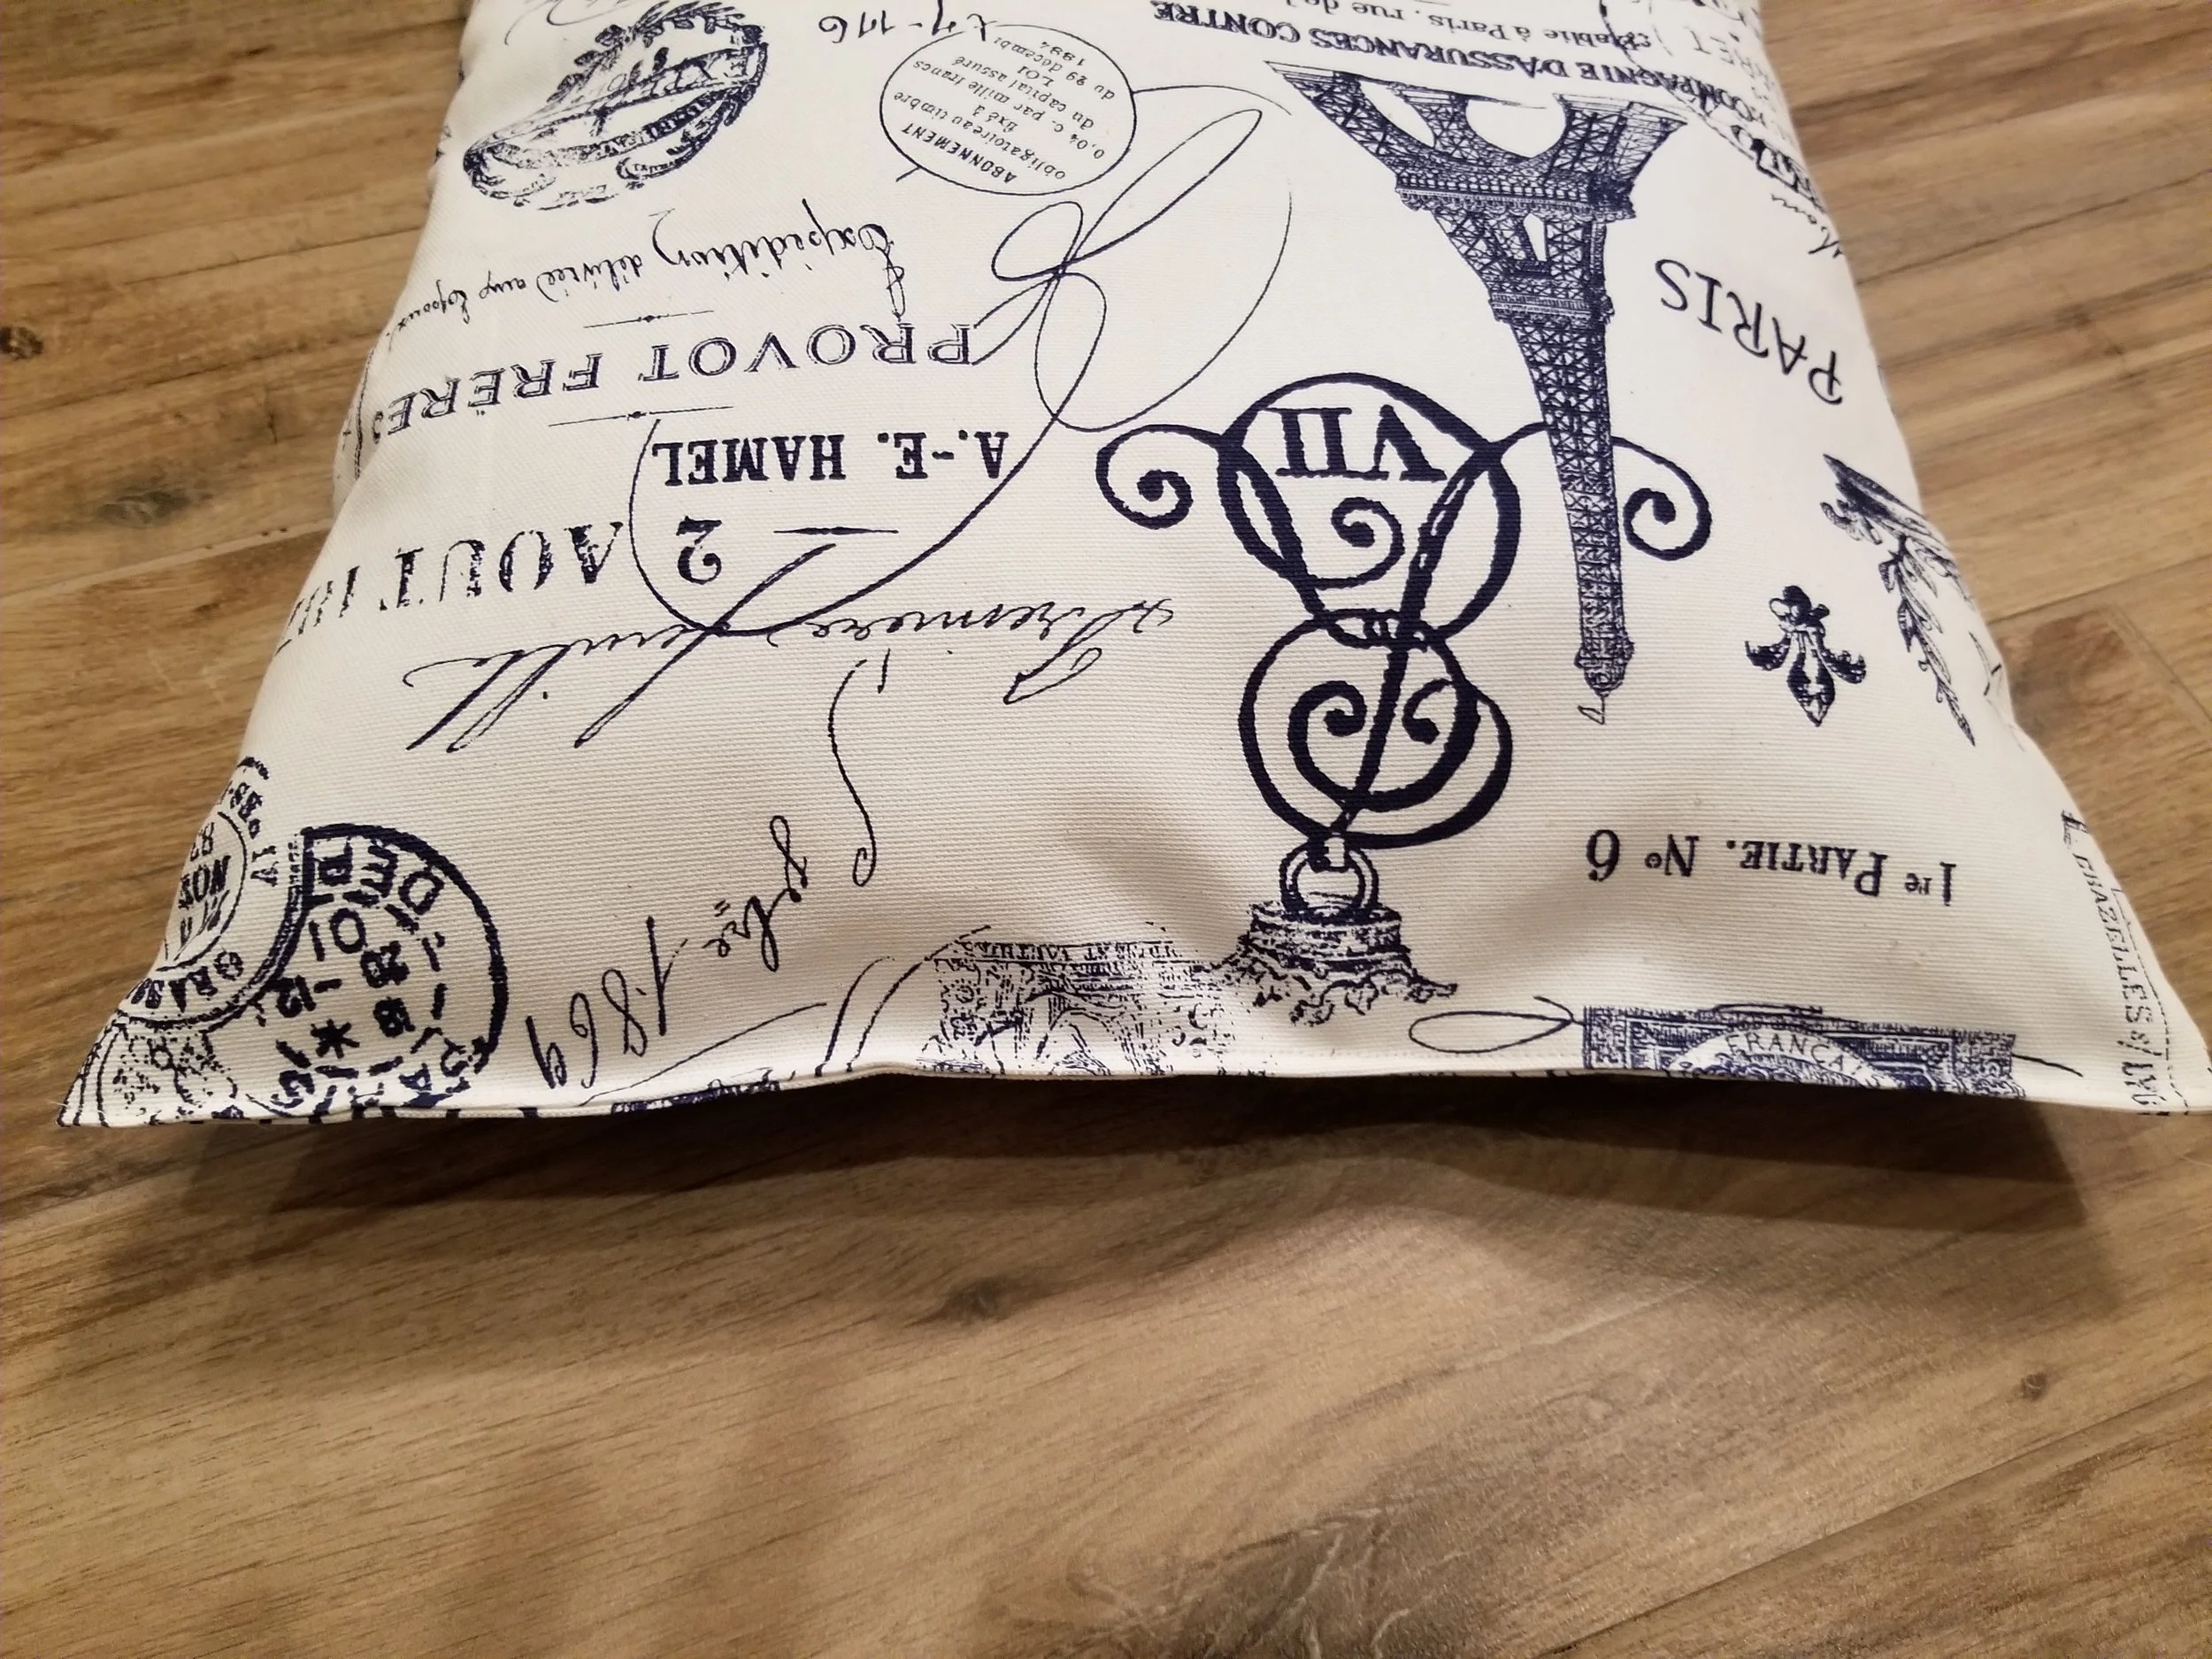
7. Run a quick seam down the folded edge no more than 1/4" in from the opening. This will ensure that the four layers stay sewn shut and it will give you a nice finished edge on that side.
8. Put your sewn pillow back under the sewing machine foot about 1.5"in from the edge. Sew all the way around your pillow, creating a border or edge. This isn't for appearance, though I think it looks better. It's to help hold the fiber fill in place. I had one bunny that would knead her pillow and push around the stuffing inside. She apparently was part Goldilocks and protested uneven fiber fill distribution. The border kept her stuffing from moving around inside the pillow and kept her less stressed. If you are wondering which one - it was Bear.
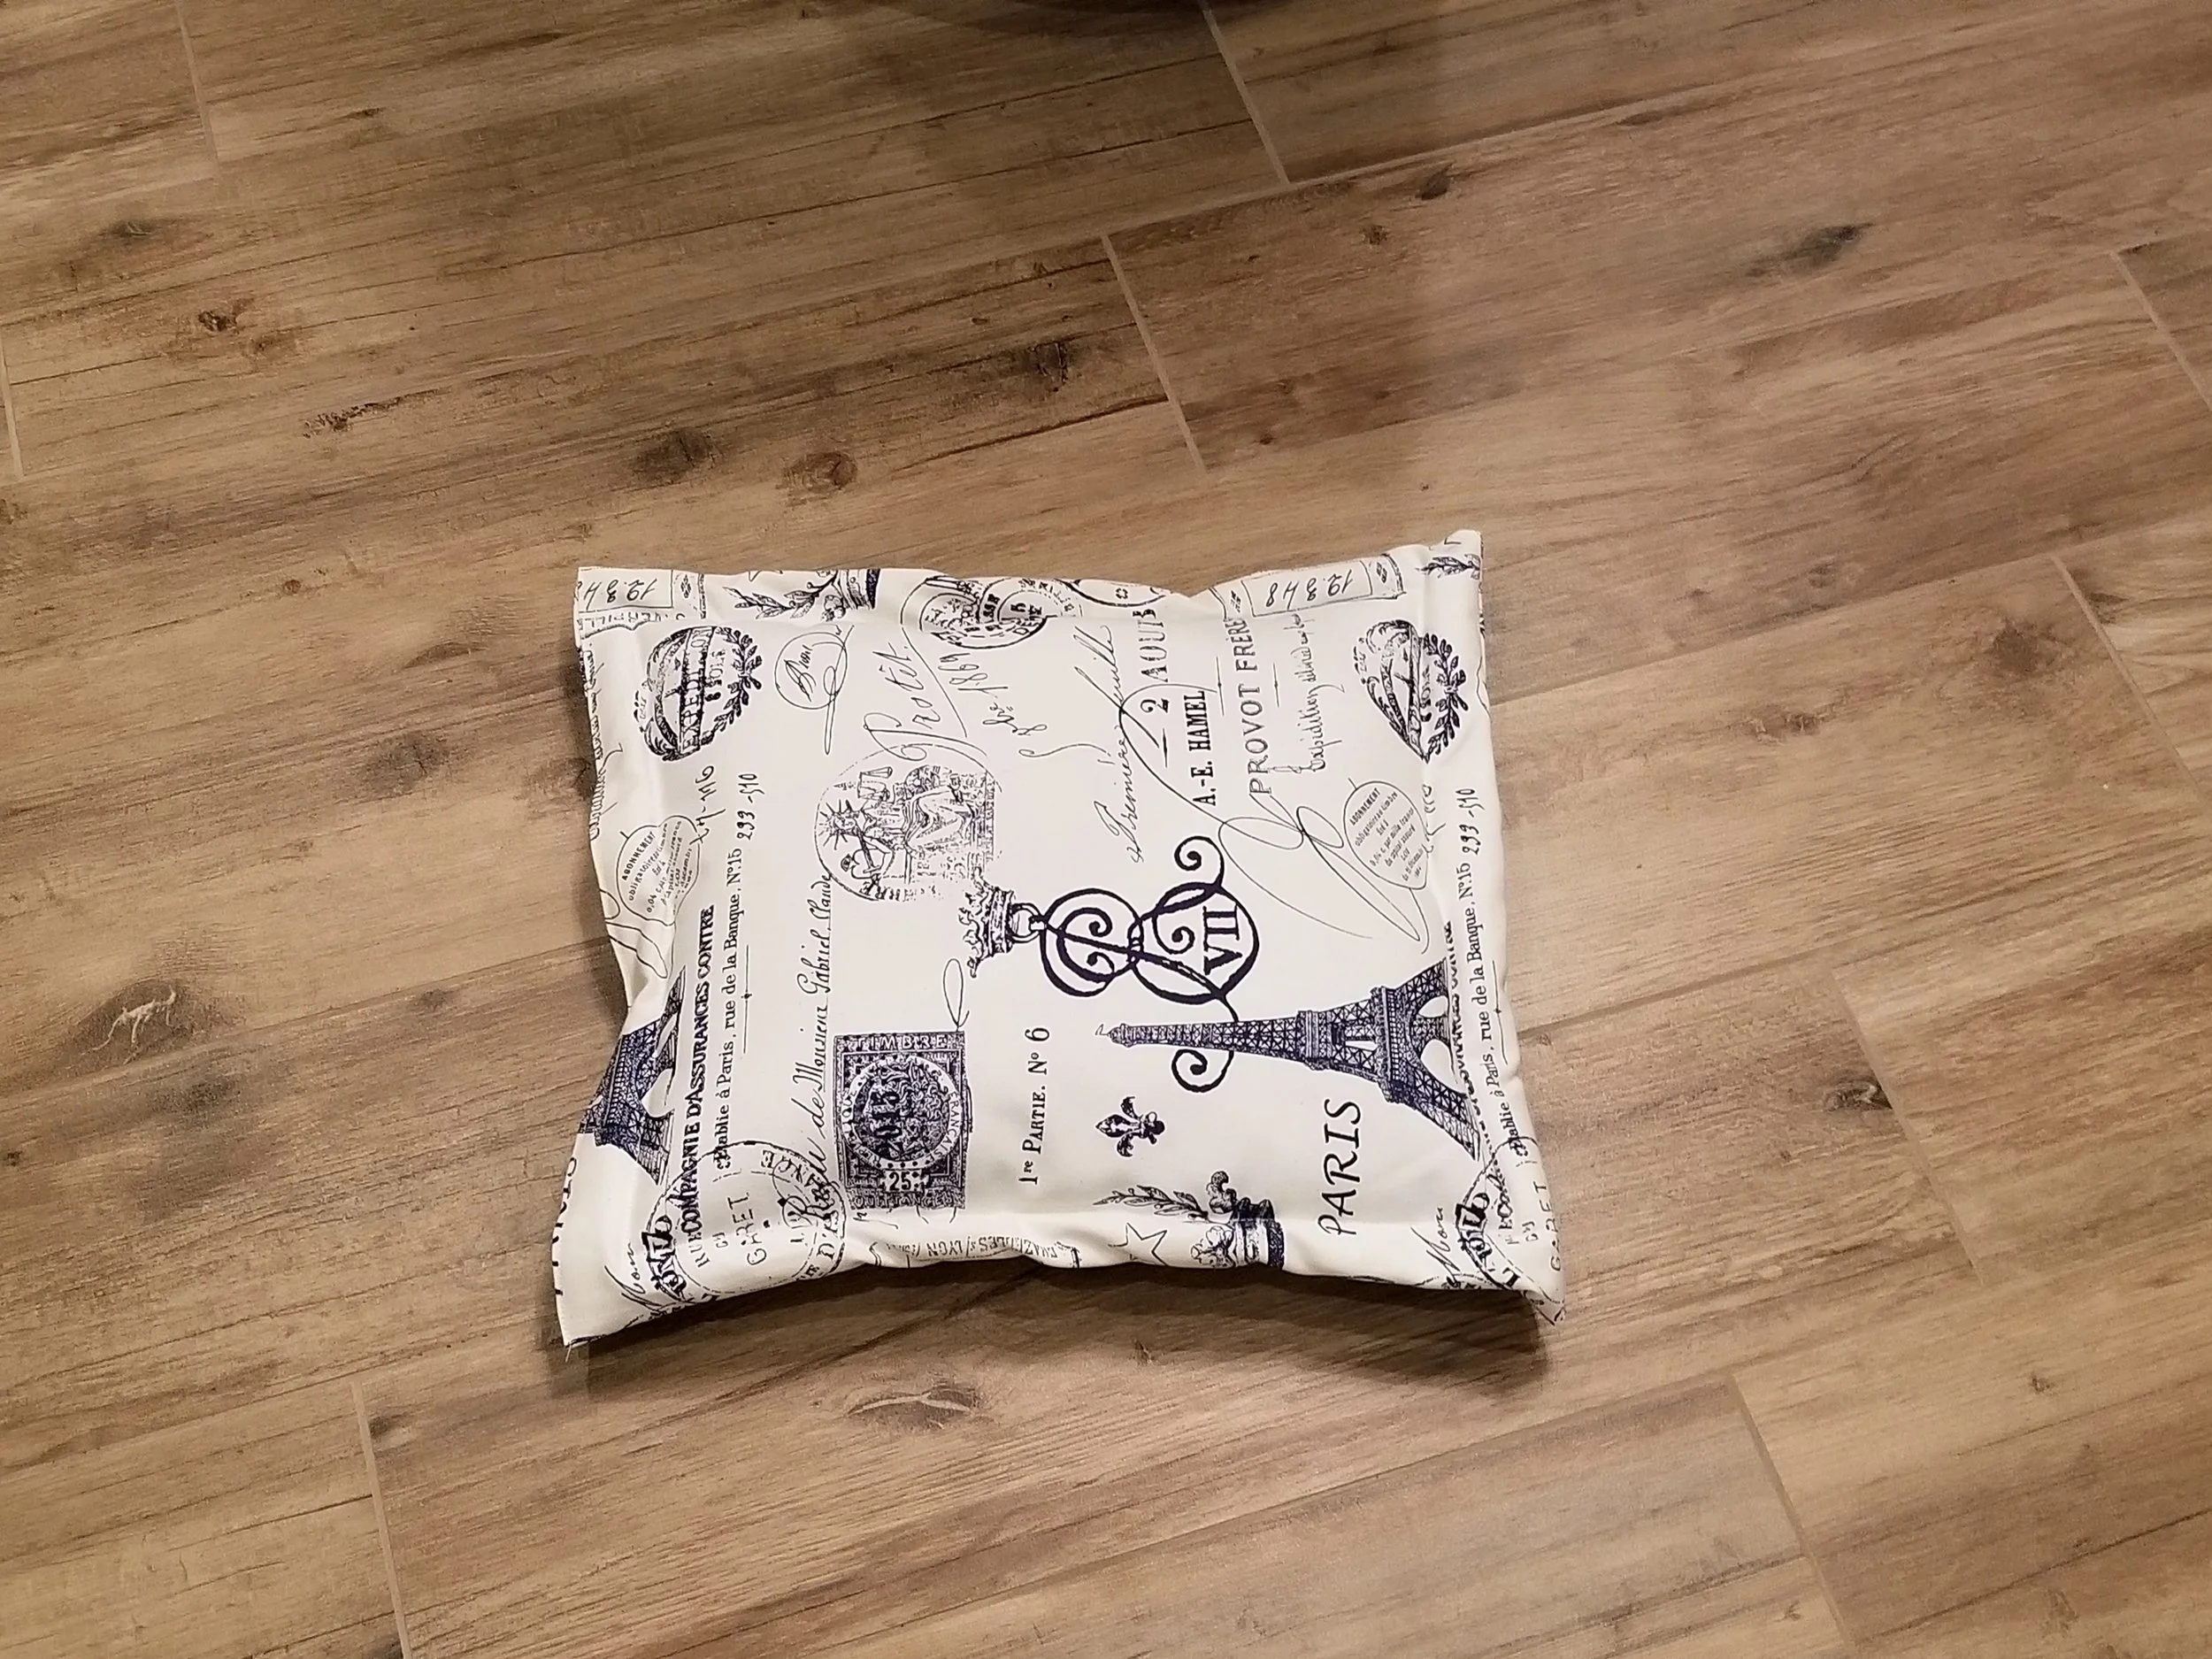
9. Don't forget to cut off all the extra string. You don't want your bunny to chew it off and eat it. Now go surprise your bunny with a pillow. I gave this one to Tonto. He has kept it quite clean and I keep finding him draped across it like a king.